Biofertilizers: Every Question a Small Producer Asks — Answered From the Field
Not from a university lab. From someone who actually makes it, applies it, and tracks the results in a real operation.
I get the same questions from producers all over — the US, Latin America, Australia. The words change, but the confusion is the same. What exactly is a biofertilizer? Is it safe? Can I actually make it myself? Will it work on my specific crop?
I’ve been using and studying biofertilizers for years, in partnership with AGERP, Brazil’s State Agricultural Research Agency. This article covers every question I hear regularly — straight answers, no jargon.
In This Article
- What is biofertilizer — with examples?
- Which is the best biofertilizer?
- What are the three main sources of biofertilizers?
- What are 5 types of fertilizers?
- Which materials can be used as biofertilizers?
- What are three types of fertilizers?
- How do I apply biofertilizers correctly?
- What are two bacterial examples of biofertilizer?
- Are there any risks to using biofertilizers?
- What crops benefit most from biofertilizers?
- What are the disadvantages of biofertilizers?
- Are biofertilizers expensive?
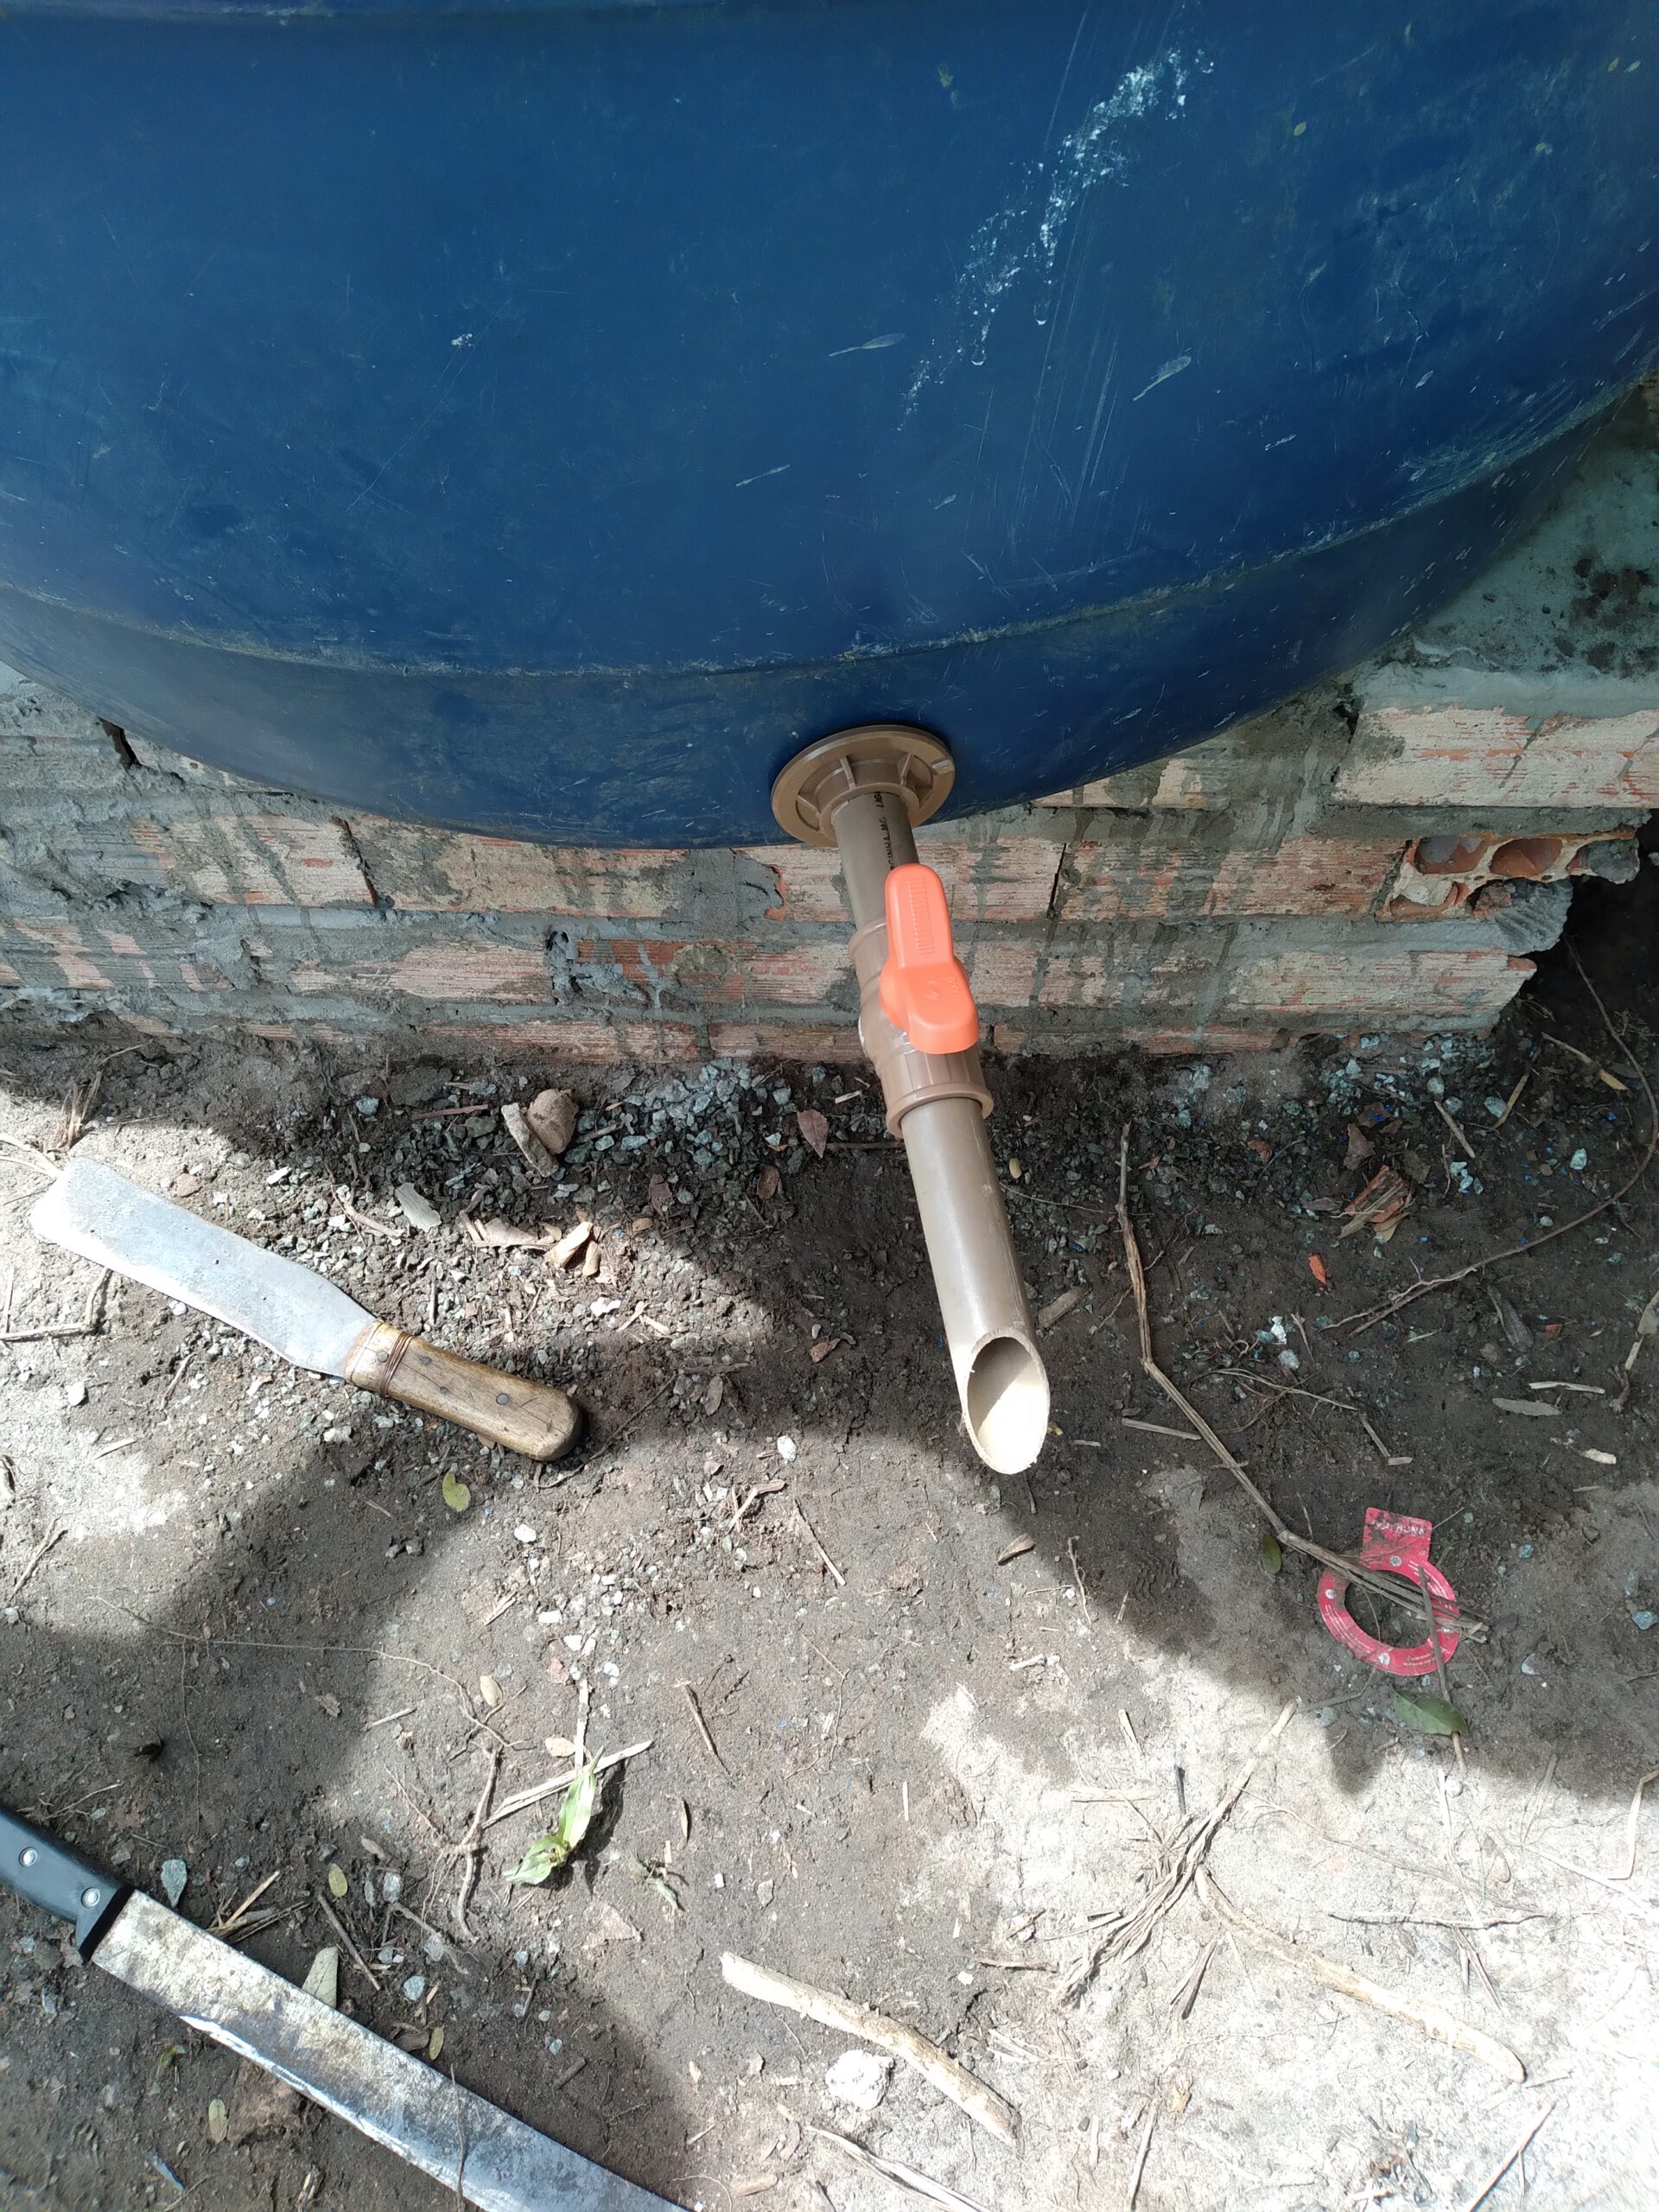
- Can I make my own biofertilizer?
What is biofertilizer — with examples?
A biofertilizer is any substance that contains living microorganisms — or the metabolic byproducts of those organisms — that, when applied to soil or crops, improves nutrient availability and supports plant growth. The key difference from a synthetic fertilizer is that biofertilizers work with the biological processes already in your soil, not around them.
They don’t dump nutrients into the root zone. They activate and multiply the organisms that make nutrients bioavailable — the ones that were already there but suppressed by years of chemical input use.
Common examples:
- Rhizobium — fixes atmospheric nitrogen in legume root nodules
- Azospirillum — nitrogen-fixing bacteria for grasses and cereals
- Mycorrhizal fungi — extends root surface area, dramatically improving phosphorus uptake
- Azotobacter — free-living nitrogen fixer for non-legume crops
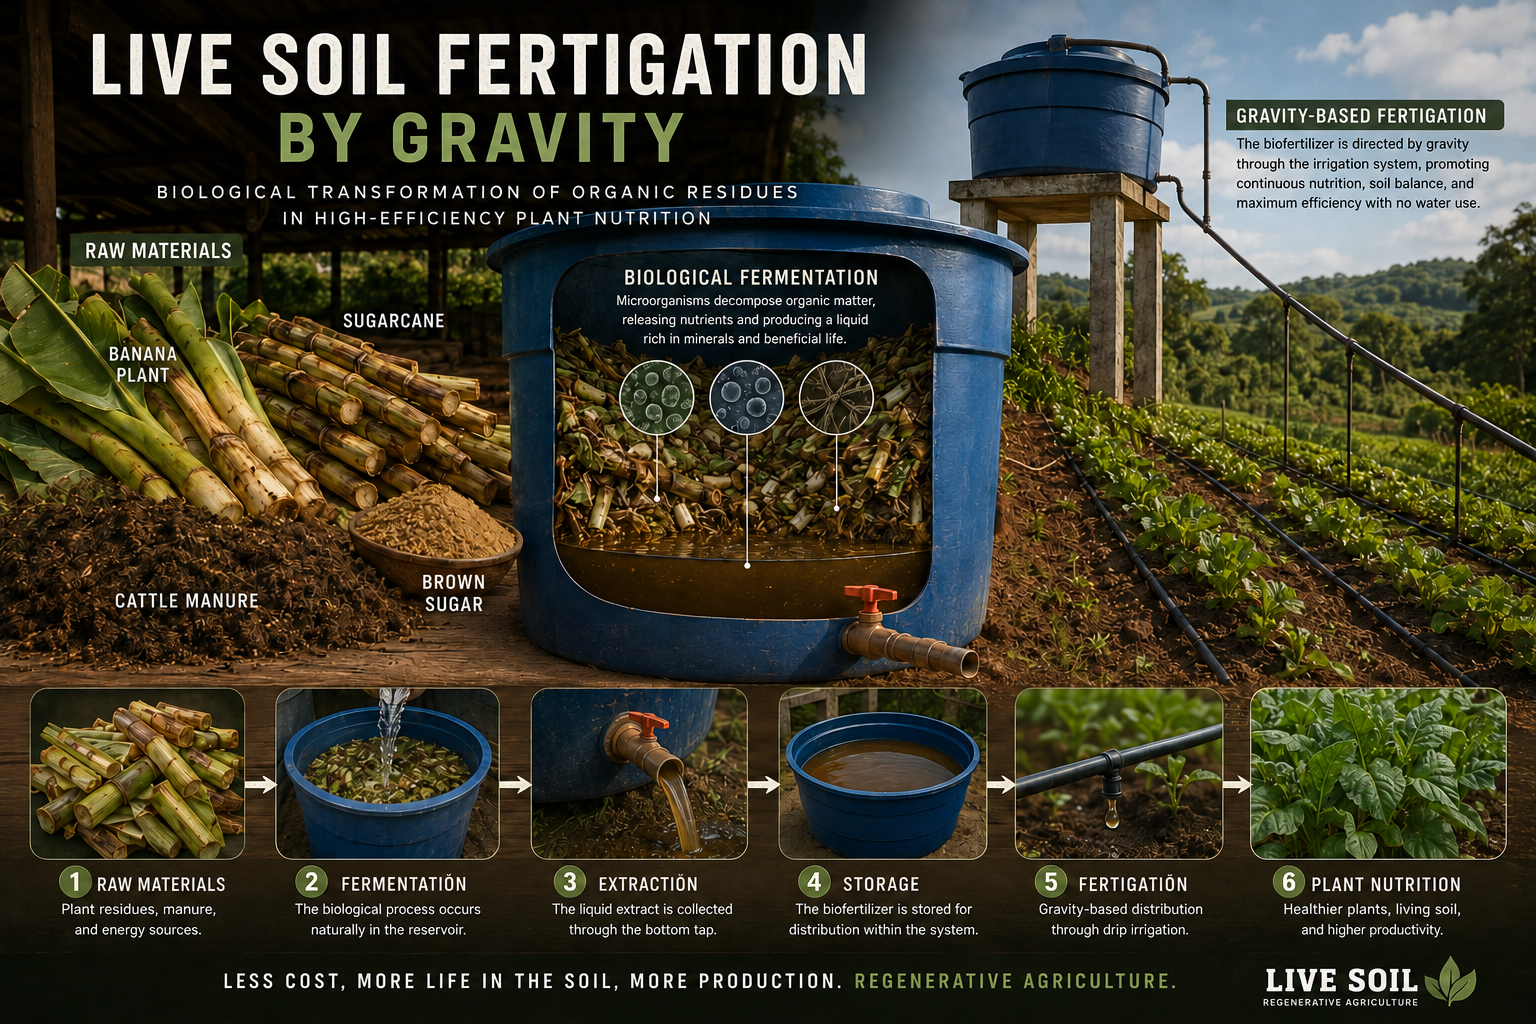
- Liquid biofertilizer (bokashi-based) — fermented organic matter, what I produce and use on my own operation
- Vermicompost leachate — worm castings liquid, loaded with beneficial bacteria and growth hormones
The best fertilizer in the world doesn’t work if your soil biology is dead. Biofertilizer is what rebuilds that biology — and keeps it alive season after season.
Which is the best biofertilizer?
There is no universal answer — and anyone who gives you one is selling something. The best biofertilizer depends on three things: your crop, your soil type, and your application method. That said, here’s how I think about it in practice:
| Biofertilizer | Best For | Application |
|---|---|---|
| Rhizobium inoculant | Soybeans, beans, peanuts | Seed coating |
| Mycorrhizal fungi | Root crops, trees, cassava | Soil drench or root dip |
| Azospirillum | Corn, wheat, sugarcane | Fertigation or foliar |
| Liquid bokashi | Most crops — general use | Fertigation or foliar |
| Azotobacter | Vegetables, tubers | Soil incorporation |
For small producers running mixed operations — which is most of us — a well-made liquid biofertilizer (fermented organic base) is the most practical choice. It’s inexpensive, versatile across crops, and can be produced on-farm in 25–30 days.
What are the three main sources of biofertilizers?
Biofertilizers come from three biological origins. Each has a different mechanism of action in the soil:
- Bacteria — the largest group. Nitrogen-fixers (Rhizobium, Azotobacter, Azospirillum) and phosphate-solubilizers (Bacillus, Pseudomonas). These are the workhorses of soil fertility.
- Fungi — primarily mycorrhizal species that form symbiotic relationships with roots. They extend root reach by up to 700% and are critical for phosphorus uptake in low-input systems.
- Algae (Cyanobacteria) — particularly useful in rice paddies and flooded systems. Species like Anabaena fix substantial amounts of nitrogen and contribute organic matter as they die off.
What are 5 types of fertilizers?
- Synthetic/Chemical fertilizers — fast-acting, high NPK, but depletes soil biology over time and creates input dependency
- Organic fertilizers — compost, manure, bone meal. Slow release, improves soil structure, no harmful residue
- Biofertilizers — microorganism-based. Improves nutrient availability without adding synthetic chemistry
- Mineral fertilizers — rock phosphate, greensand, gypsum. Naturally mined, slow-release mineral nutrients
- Liquid fertilizers — can be synthetic or biologically derived. Applied via fertigation or foliar spray for fast uptake
On my operation, I combine biofertilizer + organic base. The organic base feeds the soil; the biofertilizer activates the biology that processes it. They work together — not as substitutes for each other.
Want the Full Production Protocol?
The Solo Vivo course covers exactly how to make, calibrate, and apply biofertilizer for your soil type and crop — with field data from our AGERP research partnership.
See What’s Inside the Course $67 one-time · 15-day money-back guaranteeWhich materials can be used as biofertilizers?
More than most producers realize. The barrier to entry is lower than the industry wants you to think:
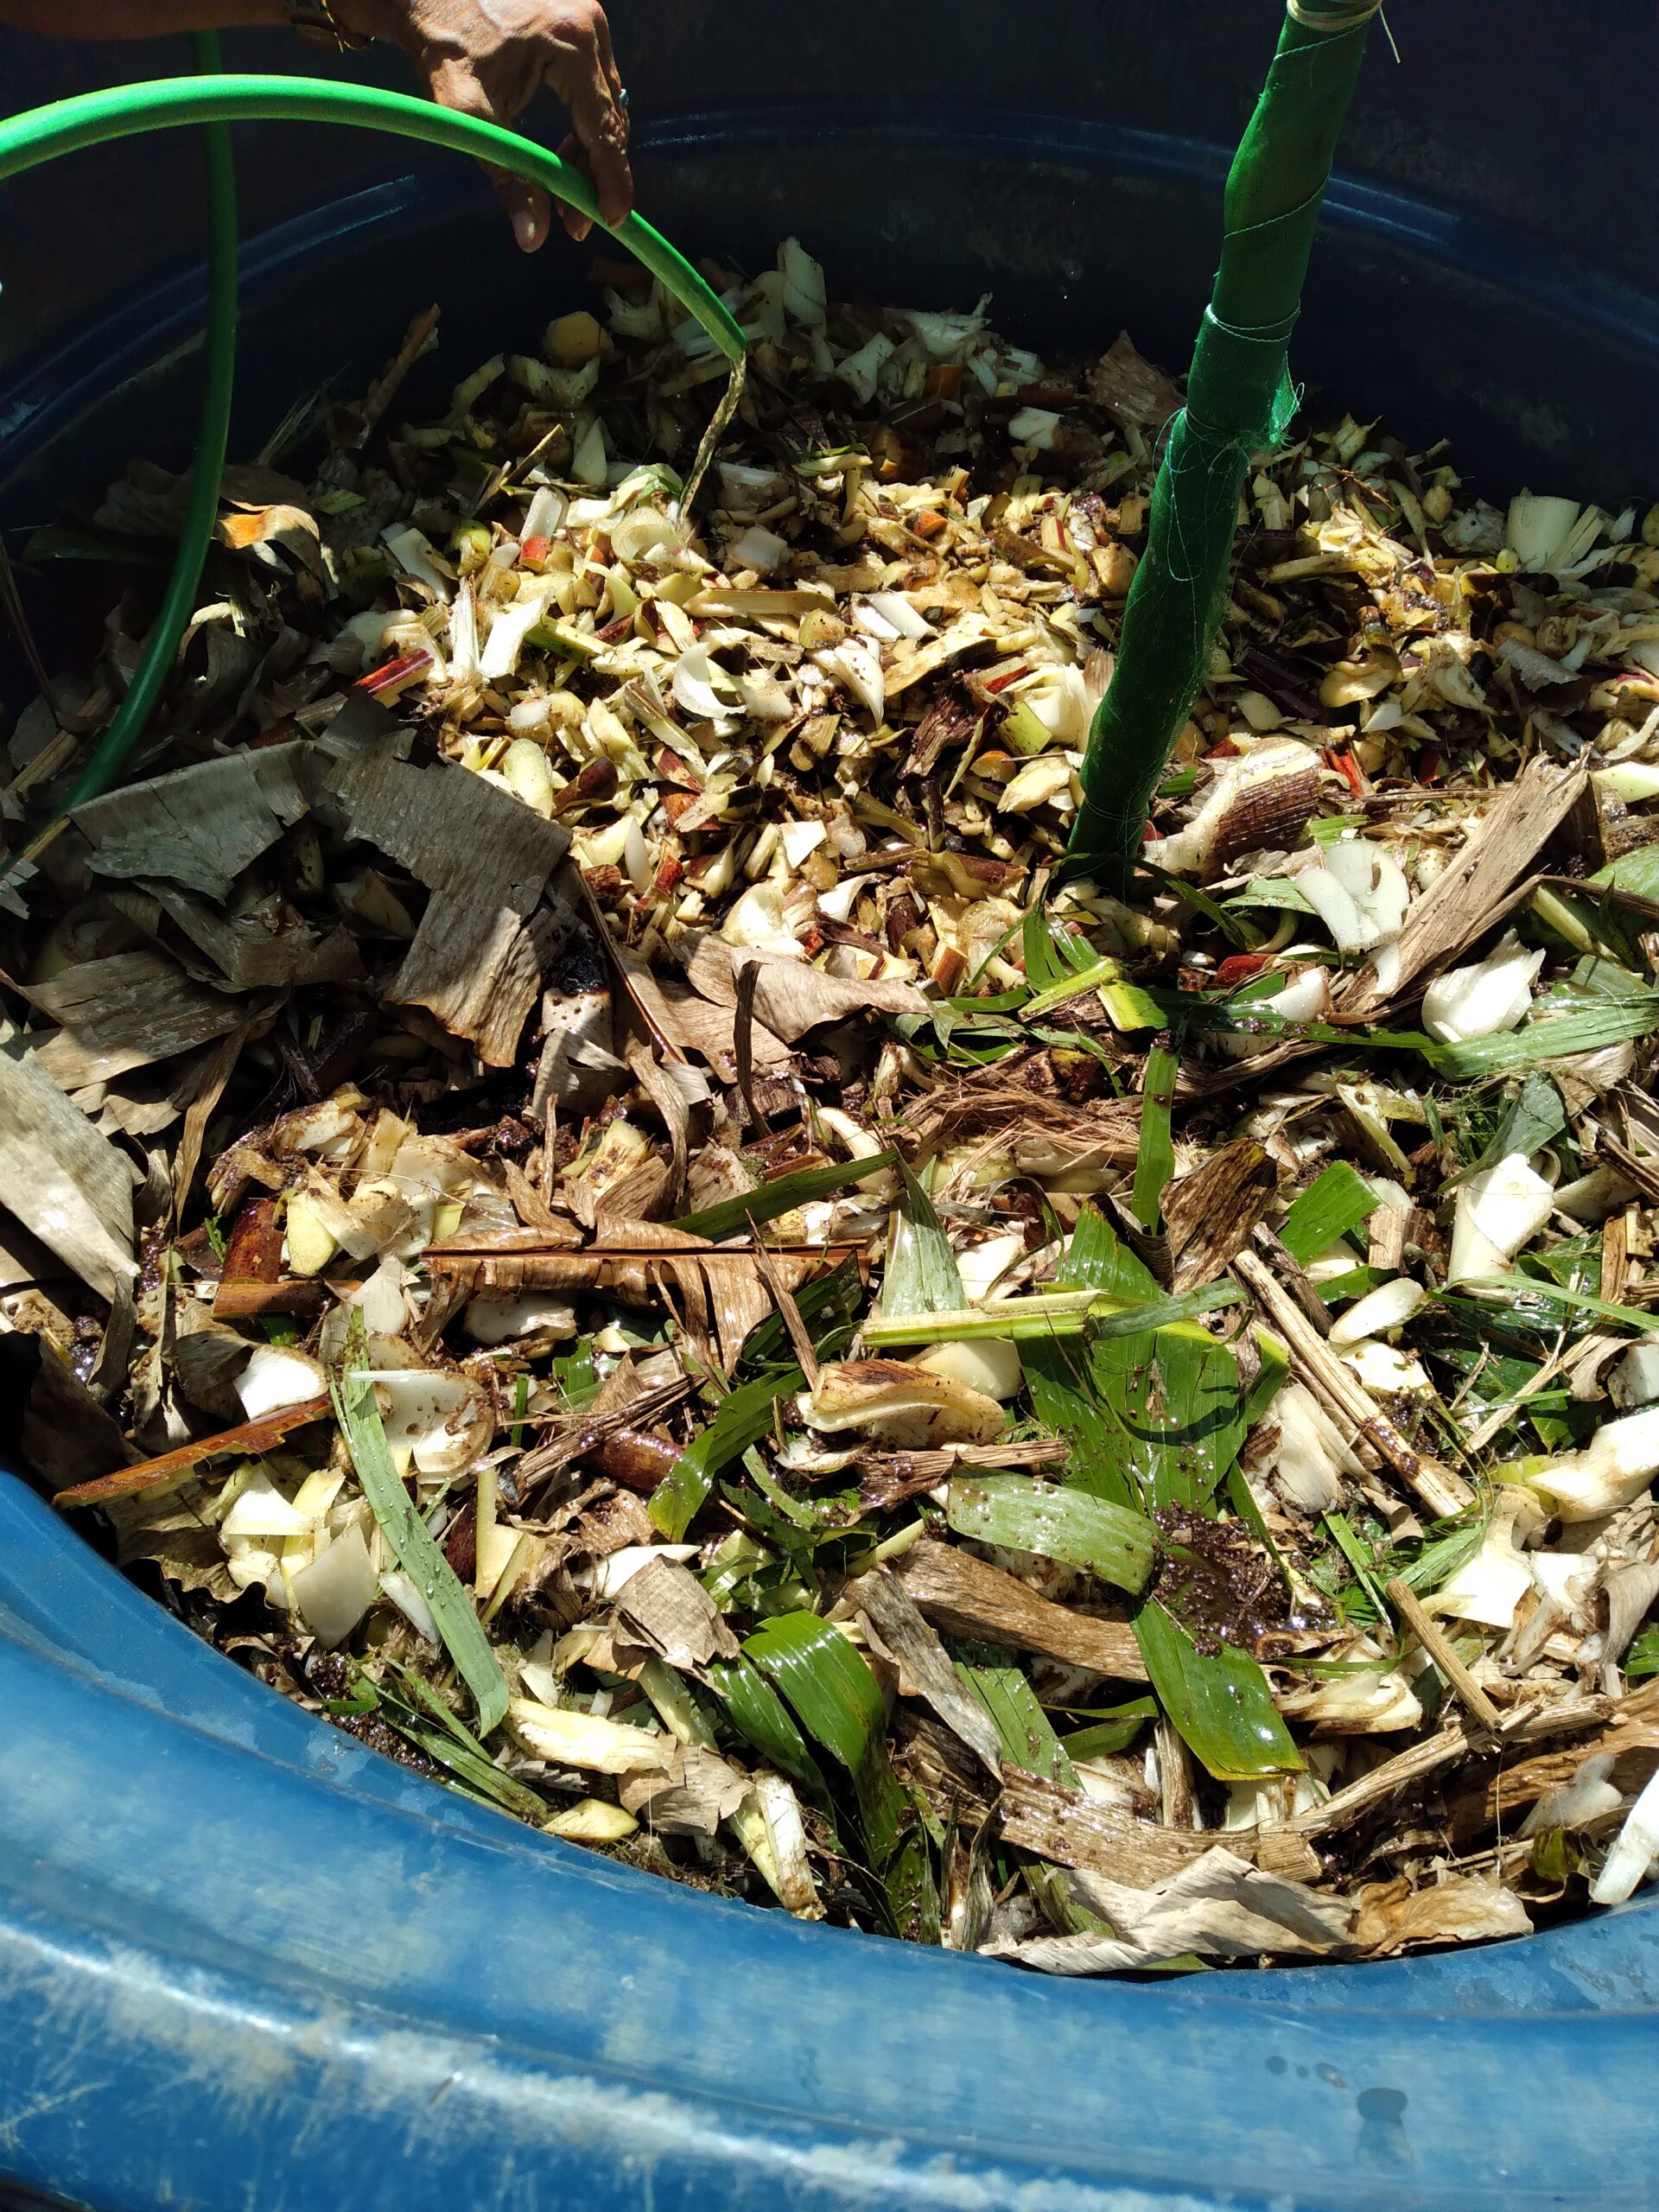
- Animal manure (cattle, poultry, swine) — fermented, not raw
- Plant-based organic matter — crop residues, green biomass, banana leaves, sugarcane bagasse
- Kitchen and farm waste — vegetable scraps, fruit pulp, whey
- Wood ash — adds potassium and adjusts pH in acidic soils
- Molasses — energy source for microbial multiplication during fermentation
- Effective microorganism (EM) cultures — accelerates fermentation, widely available
- Vermicompost and worm leachate — among the most microbiologically active inputs available
Most of these materials are either free or close to it on a working farm. The protocol — how you combine, ferment, and calibrate them — is where the knowledge lives.
What are three types of fertilizers?
When producers talk practically about fertilizer categories, the three that matter most are:
- Nitrogen fertilizers — drive vegetative growth. Biofertilizer equivalents: Rhizobium, Azospirillum, Azotobacter.
- Phosphorus fertilizers — critical for root development and flowering. Biofertilizer equivalent: mycorrhizal fungi, phosphate-solubilizing bacteria.
- Potassium fertilizers — governs water regulation, disease resistance, and fruit quality. Biofertilizer equivalent: potassium-solubilizing bacteria (Bacillus mucilaginosus), combined with wood ash application.
How do I apply biofertilizers correctly?
Application method depends on what you’re using. Here’s the practical breakdown:
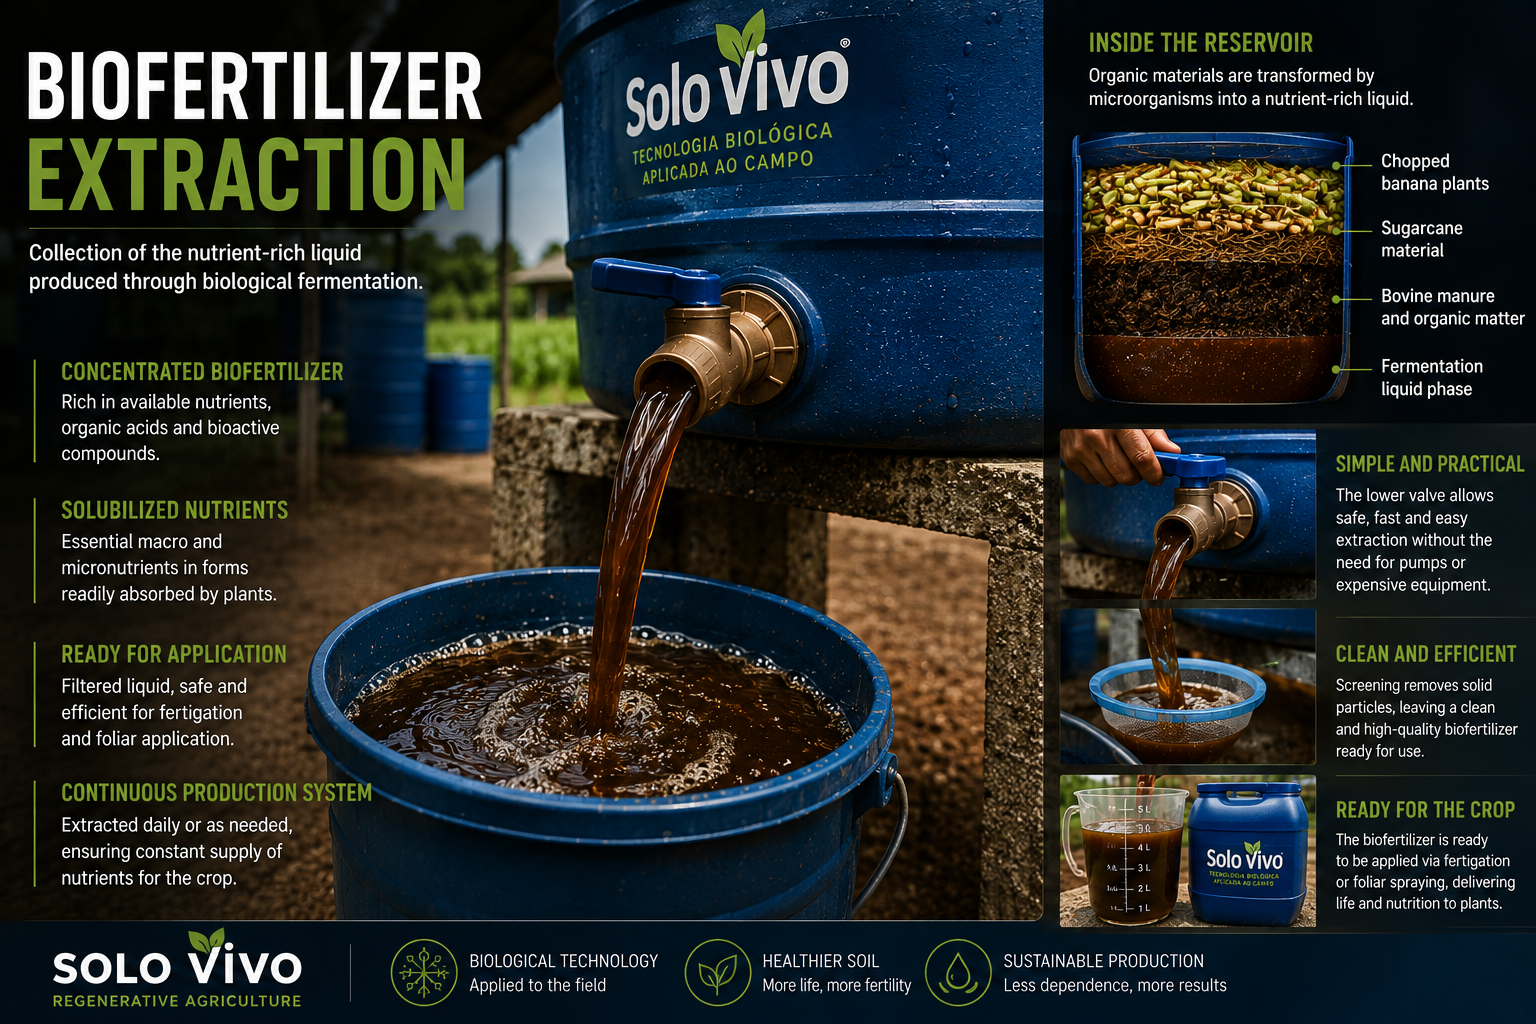
- Fertigation (drip or sprinkler irrigation) — most efficient for liquid biofertilizer. Dilute 1:20 to 1:50 depending on concentration. Apply in the morning or late afternoon, never midday heat.
- Foliar spray — apply directly to leaves. Best for fast uptake during early growth stages. Dilute more aggressively (1:100) and filter well to avoid clogging nozzles.
- Soil drench — pour directly at the base of plants or into furrows at planting. Best for mycorrhizal inoculants and slower-release products.
- Seed coating — for Rhizobium and similar inoculants. Coat seeds just before planting. Keep out of direct sunlight and do not mix with synthetic fungicide-treated seeds.
Never apply biofertilizer alongside chlorinated water, chemical fungicides, or high-pH lime in the same 48-hour window. These will kill the microorganisms before they reach the root zone. Timing matters more than quantity.
What are two bacterial examples of biofertilizer?
- Rhizobium — forms nodules on legume roots (soybeans, beans, clover, peanuts) and converts atmospheric nitrogen into a form the plant absorbs. Can supply 50–200 kg of nitrogen per hectare per season — eliminating the need for synthetic N in legume rotations.
- Azospirillum brasilense — colonizes the root zone of grasses, cereals, and sugarcane. In addition to nitrogen fixation, it produces growth hormones (auxins, gibberellins) that stimulate root development and drought tolerance. Field trials consistently show 10–30% yield improvement in corn and wheat.
Are there any risks to using biofertilizers?
Honest answer: yes, but they are manageable and far fewer than the risks of heavy synthetic input use. Here’s what’s real:
- Inconsistent results — biofertilizers are living organisms. Temperature, soil pH, and moisture affect their survival. A product that works in Florida may underperform in Arizona without adjustment.
- Short shelf life — most liquid biofertilizers lose potency within 6–12 months if stored incorrectly. Keep refrigerated, out of direct light, and away from heat.
- Incompatibility with chemical inputs — applying biofertilizer alongside certain pesticides or herbicides kills the inoculant. This is the most common failure point for producers transitioning from conventional systems.
- Slower visible response — synthetic fertilizers show green-up in days. Biofertilizer results build over weeks and accumulate across seasons. It’s a different timeline — not a failure signal.
The risks I don’t see: environmental toxicity, soil acidification from overuse, or health risk to the producer or end consumer. On those metrics, biofertilizer is unambiguously safer than synthetic alternatives.
What crops benefit most from biofertilizers?
- Legumes (soybeans, beans, peanuts) — Rhizobium inoculants reduce or eliminate synthetic nitrogen needs entirely
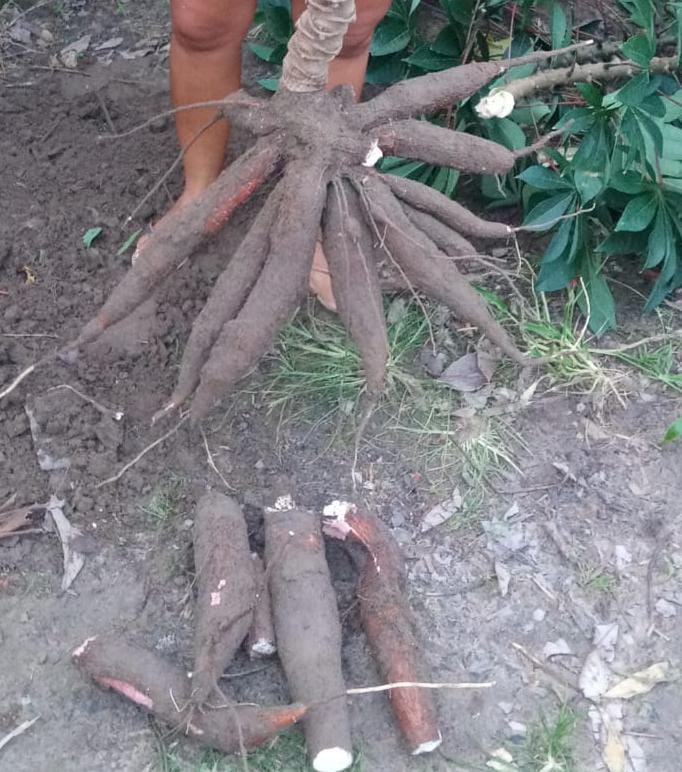
- Cassava / Yuca — mycorrhizal fungi dramatically improve phosphorus uptake in the low-input, sandy soils where cassava is typically grown
- Sugarcane — Azospirillum and diazotrophic bacteria reduce N requirements by 30–50% in established fields
- Corn and wheat — Azospirillum shows consistent yield response in field trials across multiple climates
- Vegetables (tomato, pepper, leafy greens) — high responsiveness to foliar-applied liquid biofertilizer, especially during transplant and flowering stages
- Fruit trees — mycorrhizal colonization improves drought tolerance and fruit quality over time; long-term investment that pays out across seasons
What are the disadvantages of biofertilizers?
I’d rather you hear these from me than discover them mid-season:
- Longer time to visible results — if your cash flow depends on a fast-responding crop this season, you need to plan the transition carefully
- Requires soil baseline knowledge — using biofertilizer without knowing your soil pH, organic matter, and existing biology is like prescribing medicine without a diagnosis
- Not a complete replacement (yet) — in severely depleted soils, you may need 1–2 seasons of combined organic + biofertilizer inputs before you can fully reduce synthetic use
- Quality varies widely by product — the commercial biofertilizer market has inconsistent labeling. CFU counts (colony-forming units) matter — low-quality products may have no viable organisms left at point of use
The biggest disadvantage of biofertilizer is starting without a protocol. The inputs are simple. The protocol — timing, dilution, soil calibration, application sequence — is what makes it work.
Are biofertilizers expensive?
Commercial biofertilizer products range from $15 to $80 per application depending on crop area and formulation. Compared to synthetic fertilizer programs running $150–$400+ per acre per season, they are significantly cheaper — especially over time.
But the real cost comparison happens when you produce your own. On my operation, a 200-liter batch of liquid biofertilizer — enough for approximately 2 hectares of fertigation — costs under $12 in materials. Production time: about 4 hours spread over 30 days of fermentation.
The math is straightforward: if you’re spending $300/acre on synthetic inputs and biofertilizer reduces that by 40–60%, you recover the system cost in the first season — often in the first application.
Can I make my own biofertilizer?
Yes. And on a small or medium operation, I think you should — for two reasons. First, cost. Second, control. When you make it yourself, you know exactly what’s in it, you can adjust the formula to your soil, and you’re not dependent on supplier availability or shipping timelines.
The materials you need are almost certainly already on your farm: animal manure, plant matter, molasses, water, and a sealed fermentation container. The protocol — ratios, fermentation temperature, pH monitoring, when to stop fermentation, how to dilute for different application methods — is what takes knowledge to get right.
I’ve documented the complete protocol — including the failed batch that taught me what not to do — in the Solo Vivo course. It’s the same system validated through our AGERP field study, adapted for small and medium operations in tropical and subtropical climates.
The Full Protocol Is Inside the Course
Everything in this article is the foundation. The Solo Vivo Profit System goes deeper: biofertilizer production, soil calibration, premium product development, and how to position your farm for direct-to-buyer sales. All field-validated, no filler.
Access Solo Vivo for $67 One-time · Instant access · 15-day guarantee · No subscription